
I have been playing with Craft CMS since last year, as an alternative to WordPress for some clients. At first glance, Craft can be a little intimidating since it’s configuration and “philosophy” differs from how we are used to work with WordPress. The other aspect, is that it’s installation is a little bit tricky, if you are not doing it via Composer.
In my case, I had access to the client’s server via SFTP, no SSH or git, so instead of working with Composer, I did a manual installation. BUT, the steps described in Craft’s Documentation are not a 100% complete.
![]()
Server Requirements
First off, there are the server requirements. Craft provides you with a handy PHP script to test if your server has all the components and configuration needed. You can download it and then upload the file and run it.
Craft’s documentation lists:
- PHP 7.0+
- MySQL 5.5+ with InnoDB, MariaDB 5.5+, or PostgreSQL 9.5+
- At least 256MB of memory allocated to PHP
- At least 200MB of free disk space
And then lists the PHP extensions you have to have installed on the server:
- ctype
- cURL
- GD or ImageMagick. ImageMagick is preferred.
- iconv
- JSON
- Multibyte String
- OpenSSL
- PCRE
- PDO MySQL Driver or PDO PostgreSQL Driver
- PDO
- Reflection
- SPL
- Zip
And then proceeds to list these as “optional” PHP extensions:
- Intl
- DOM
- allow_url_fopen
- proc_*
But in reality, I ran into a lot of problems trying to install Craft on a in-house web server (non hosting provider), following these instructions. The installation crashed and when I tried to open the admin panel, I got an error asking for the DOM extension as a requirement.
And after we finished installing everything, for the plugin store to work, you need these installed:
- The proc_open() function is required for Plugin Store operations as well as sending emails.
- The proc_get_status() function is required for Plugin Store operations as well as sending emails.
- The proc_close() function is required for Plugin Store operations as well as sending emails.
- The proc_terminate() function is required for Plugin Store operations as well as sending emails.
- allow_url_fopen must be enabled in your PHP configuration for Plugin Store and updating operations.
About the Database
Craft 3 documentation specifies that:
The database user you tell Craft to connect with must have the following privileges:
MySQL/MariaDB
SELECTINSERTDELETEUPDATECREATEALTERINDEXDROPREFERENCESLOCK TABLES
PostgreSQL
SELECTINSERTUPDATECREATEDELETEREFERENCESCONNECT
But somewhere else in the documentation, they specify the character set as UTF-8. So, just in case:
- Default Character Set:
utf8 - Default Collation:
utf8_unicode_ci
Craft 3 Install Checklist
So after a long period of troubleshooting and trial and error, I created this checklist of steps to install Craft 3 on a server via FTP:
Step 1 – The files
First step, go to CraftCMS.com and download the Zip.

You will get this directory structure. Everything under /web has to go on your server/hosting htdocs or “public” folder. Everything else goes outside, so it’s not accessible via web browser. Craft2 used to organize the upper files into a separate directory called “craft”. If for some reason, you want to do that, you will need to edit /web/index.php and on line 7:
define('CRAFT_BASE_PATH', dirname(__DIR__));
Add the new directory structure for the “craft” or “bin” files. Like this:
define('CRAFT_BASE_PATH', dirname(__DIR__) . '/craft');
Step 2 – .htaccess
This is a no-brainer: upload everything via FTP. Remember that there is an .htaccess file in the web root directory (/web/.htaccess), so be sure to upload that too.
If you already started working on the template, and have your CSS, JS, Framework files (Bootstrap or whatever); go ahead and upload them to your /web folder. Also, upload your images if they are not part of an “Asset Folder” (more on that later).
Step 3 – Composer files
Even though we are not working with Composer, it’s still a requirement for the Plugin store, so DON’T DELETE the composer files outside your web folder.
composer.json

composer.lock
I only mention this, because I read somewhere (can’t remember if it was on Stack Overflow) that you could delete them if you were manually installing.
Step 4 – .ENV
Edit your .env file. This is the configuration file, similar to WordPress’s wp-config.php, where you specify the database connection credentials. It’s on the root of the downloaded folder, but it’s hidden, so it wont show on Finder. You have two options:
- Press SHIFT+COMMAND+. (period) to show hidden files on Finder
- Edit it via your FTP client, either locally or in your server.
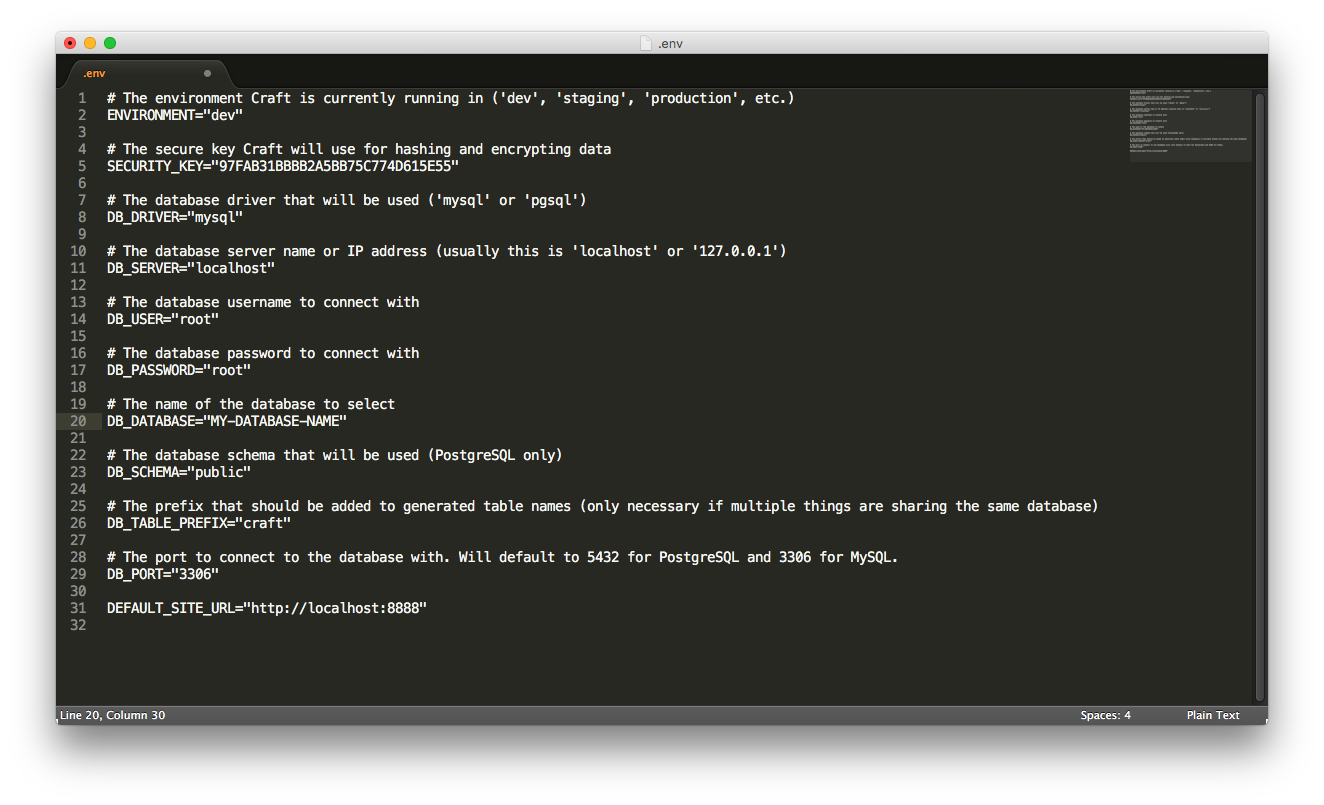
The config it’s pretty self explanatory, you just need to add the database credentials. If you are developing and testing, leave the ENVIRONMENT variable as “dev”, but be sure to change it to “production” once the site goes live, to hide any error messages that contain system file paths.
I like to add “craft_” as the DB_TABLE_PREFIX, so the database tables will look organized and to differentiate the Craft tables from any other tables you might have there.
And fill in the SECURITY_KEY.
Step 5 – General Config
Edit the configuration file file:
/config/general.php
There are some details you might want to change here, depending on your architecture, but the important one, at least for me, it’s: cpTrigger.
cpTrigger is the URL for the admin page, like /wp-admin in WP. So, having a little bit of improvement on security, by obscurity, you can change it to something non standard, instead of leaving it as “admin”.
Just to be clear, the default will be this:
http://yourwebsite.com/admin
And if you change it, will be something like this:
http://yourwebsite.com/batman
FILE PERMISSIONS ERRORS
On hosted environments it’s likely that we won’t run into this problem, but on an in-house web server, where your FTP account is separte from the account that runs Apache and runs PHP; or they are not on the same group, you will get a lot of errors when Craft, via PHP tries to write on those files/folders:
.envcomposer.jsoncomposer.lockconfig/license.keystorage/*vendor/*web/cpresources/*
The exact permissions you should be setting depends on the relationship between the system user that PHP is running as, and who owns the actual folders/files.
- If they are the same user, use
744. - If they’re in the same group, then use
774. - If you’re not sure and like to live life on the edge, use
777
– Source
On a recent installation I had this problem, and we had to assign both the owner and the user group to the system user that runs PHP on the server, in this case, “Apache”. So, the folder “storage/” had “apache” as the owner and “apache” as the Group.
Step 6 – Installing
Congratulations, you are done! Sorry, not true, now you have to actually install it via web browser.
The installation also differs from WordPress at this step; if you visit your website’s root page (www.yourwebsite.com), you will get a hideous 503 error message.

So, your next step will be to visit the admin page, either the default or the “secure one” you configured on our previous step:
http://yourwebsite.com/admin
If for some reason, you are getting another error message or the page is automatically being redirected to root (yourwebsite.com), then you might be:
- Having a problem with mod_rewrite or not having it installed
- Missed uploading the .htaccess file to the /web/ folder
- Having problems with the server’s permissions, stoping Apache to actually reading the .htaccess file (ask your system admin for help on this one).
So, if you uploaded .htaccess, and have mod_rewrite installed, but it’ still not working; you can still test to see if the installation works by visiting:
http://yourwebsite.com/index.php?p=admin/install

If you see this page, you can breath easy and just follow the steps.
PROBLEMS WITH .htaccess
If you are having problems with .htaccess, you might need to add this to the top of the file:
DirectoryIndex index.php
AddDefaultCharset utf-8

RewriteEngine on
Options +FollowSymlinks -MultiViews -Indexes

RewriteBase /
And then, ask your System Admin to do this on Apache’s httpd.conf file (if you don’t have access yourself):
If you’re on Apache, your
httpd.conffile probably has AllowOverride None set for your site, effectively disabling all.htaccessfile changes. Change it toAllowOverride All, restart Apache and you should finally be set. – Source
Recently, I also had this problem with a new installation. Mod Rewrite was installed and running, but the system was ignoring the .htaccess file. We had to edit httpd.conf and find each instance of “AllowOverride None” and change it to “AllowOverride All” (excluding the /cgi-bin instance), and then, restarting Apache.
The thing is, it’s not evident if .htaccess is or isn’t running. One way to quickly test it is to add some text to the beginning of file, for example a “Hello World” at the top. If you get an Internal Server Error when trying to load a page via browser, it’s running, test again deleting the “Hello World”. If you don’t get the Internal Server Error, then it isn’t loading the .htaccess.
CRAFT ADMIN OR PUBLIC PAGE NOT LOADING CSS OR JS FILES
zlib Error
You’re trying to install Craft for the first time and you notice that no CSS or JS is being loaded in the installer. Or maybe you view your browser’s inspector and the response to the CSS/JS files are all garbled.
Chances are you have zlib.output_compression enabled in your php.ini file and you need to disable it.
– Source
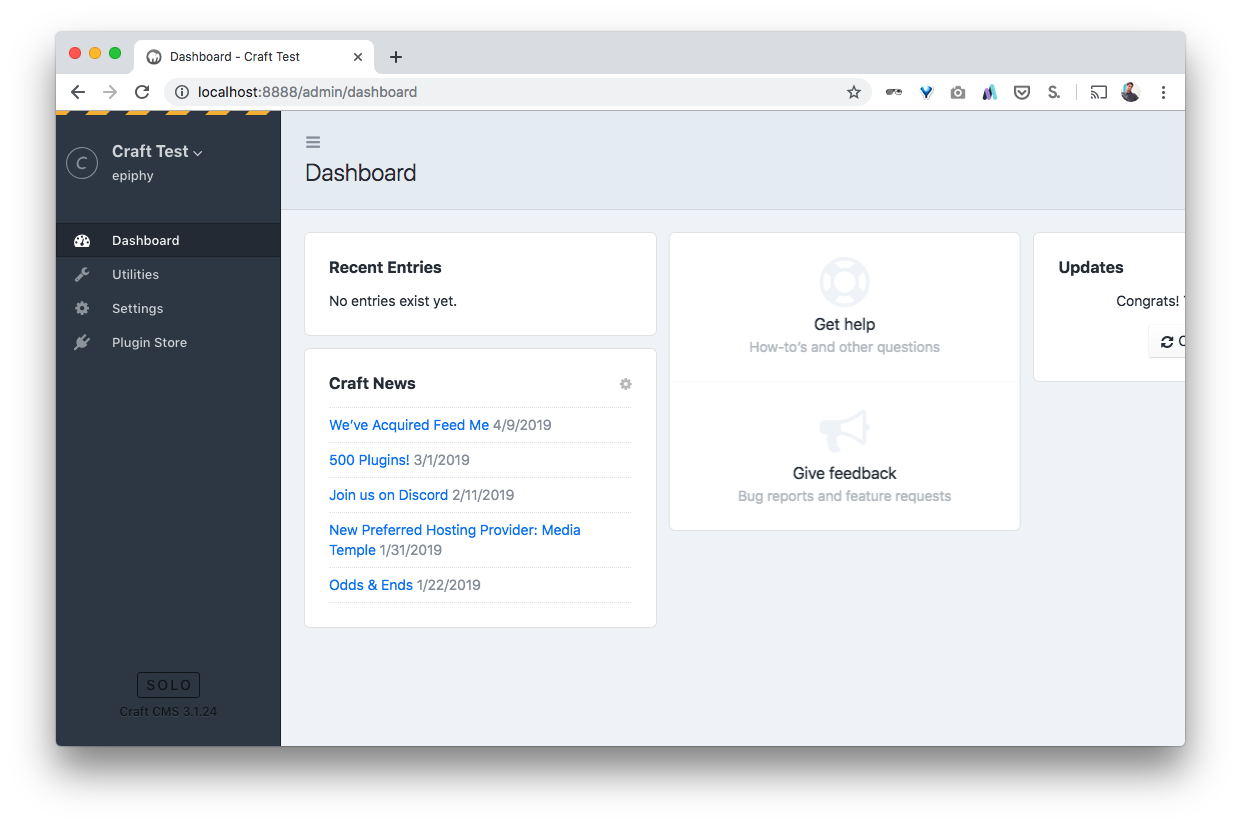
Step 7 – Admin Panel
As soon as you have everything set, you can log in to your web admin:
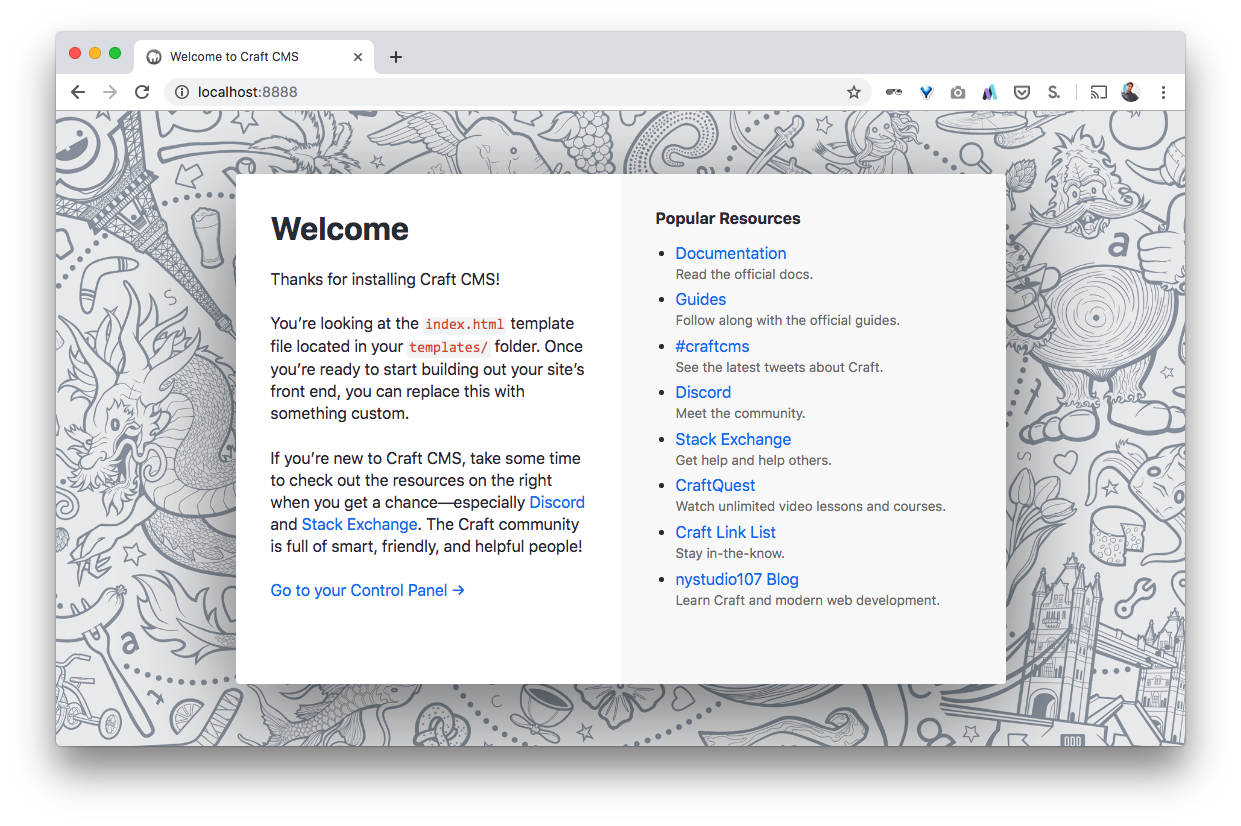
And to test the public site, visit your root folder:
Step 7 – Twig Templates
If you managed to successfully install the CMS, then you are almost done. When migrating from a local development install (on your computer, running on MAMP or some other local web server), and if you already developed the Twig templates, you should proceed to upload them to:
/templates/
They wont show up until you create the specific pages (Single), blog posts (Channel entries) or subpages structure (Structure) inside the admin panel.
The development of Twig templates is beyond the scope of this article, but there are a lot of great resources that I will link bellow.
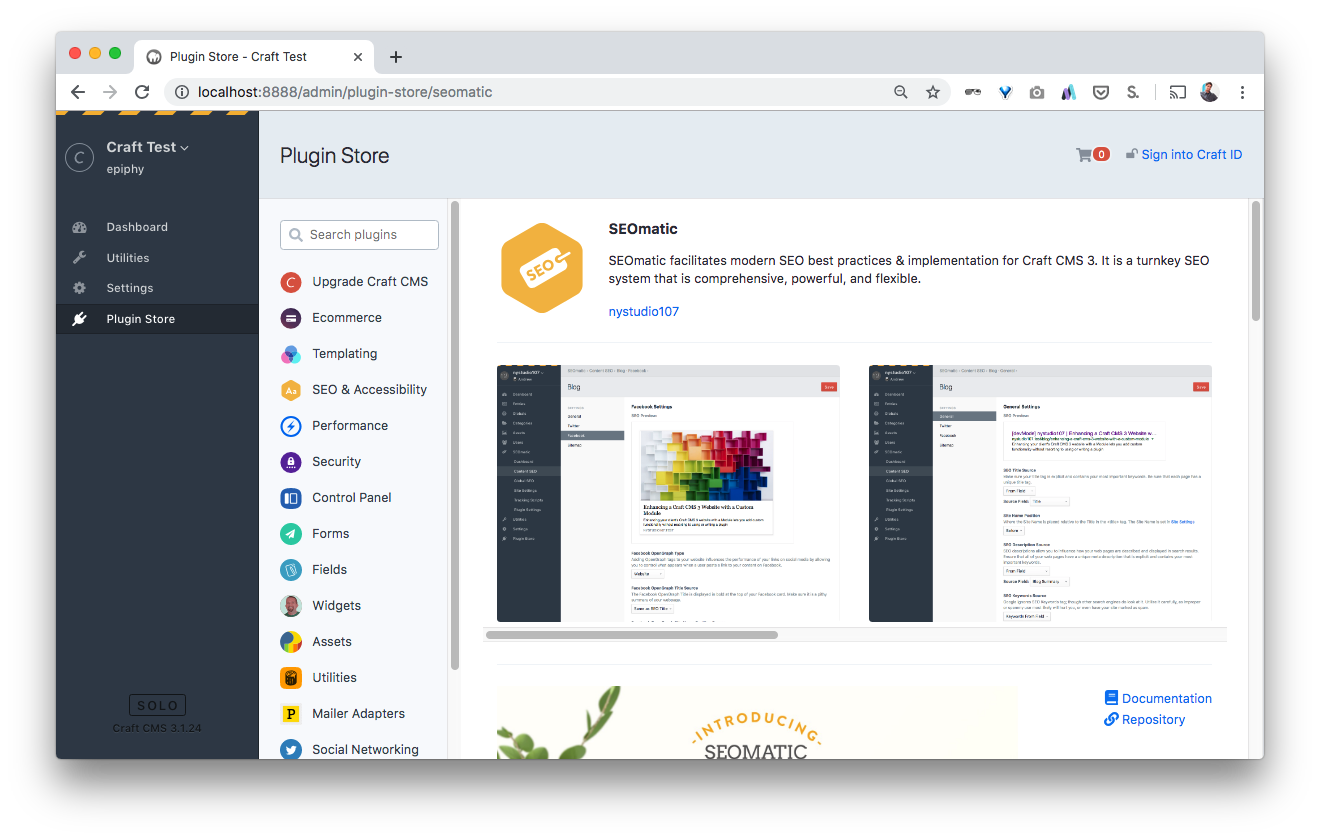
Step 8 – Plugins
Go ahead and install any required plugins for your project:
One helpful feature is that you can run Craft PRO as a trail, while building or testing on a development environment. If you have the site installed on localhost or under a subdomain like test.mysite.com or dev.mysite.com, the admin panel will allow you to run as a Trial, so you can develop using all the featured available to the Pro version, plus install any commercial plugins as a trial.
– Source
PROBLEMS INSTALLING PLUGINS
If you get errors installing plugins, first check the log files stored on: /storage/logs
Second, be sure to check the file permissions of these folders and individual files. PHP will need enough permission to either read or write on them:
/craft-bin/storage/*
/craft-bin/vendor/
/craft-bin/composer.json
/craft-bin/composer.lock
/web/cpresources/*
Again, the exact permissions you should be setting depends on the relationship between the system user that PHP is running as, and who owns the actual folders/files.
- If they are the same user, use
744. - If they’re in the same group, then use
774. - If you’re not sure and like to live life on the edge, use
777
Step 9 – Content
Designing and populating a Craft website is outside this article’s scope, but the next step will be for you to create from the Admin Panel:
- Assets Volumes
- Image Transforms
- Categories
- Fields
- Sections
- Entry Types
This particular order has been helpful for me, since you will need to have the categories already created before adding the “blog posts” under Channel, or have the Assets Volumes created when adding pages and uploading the images.
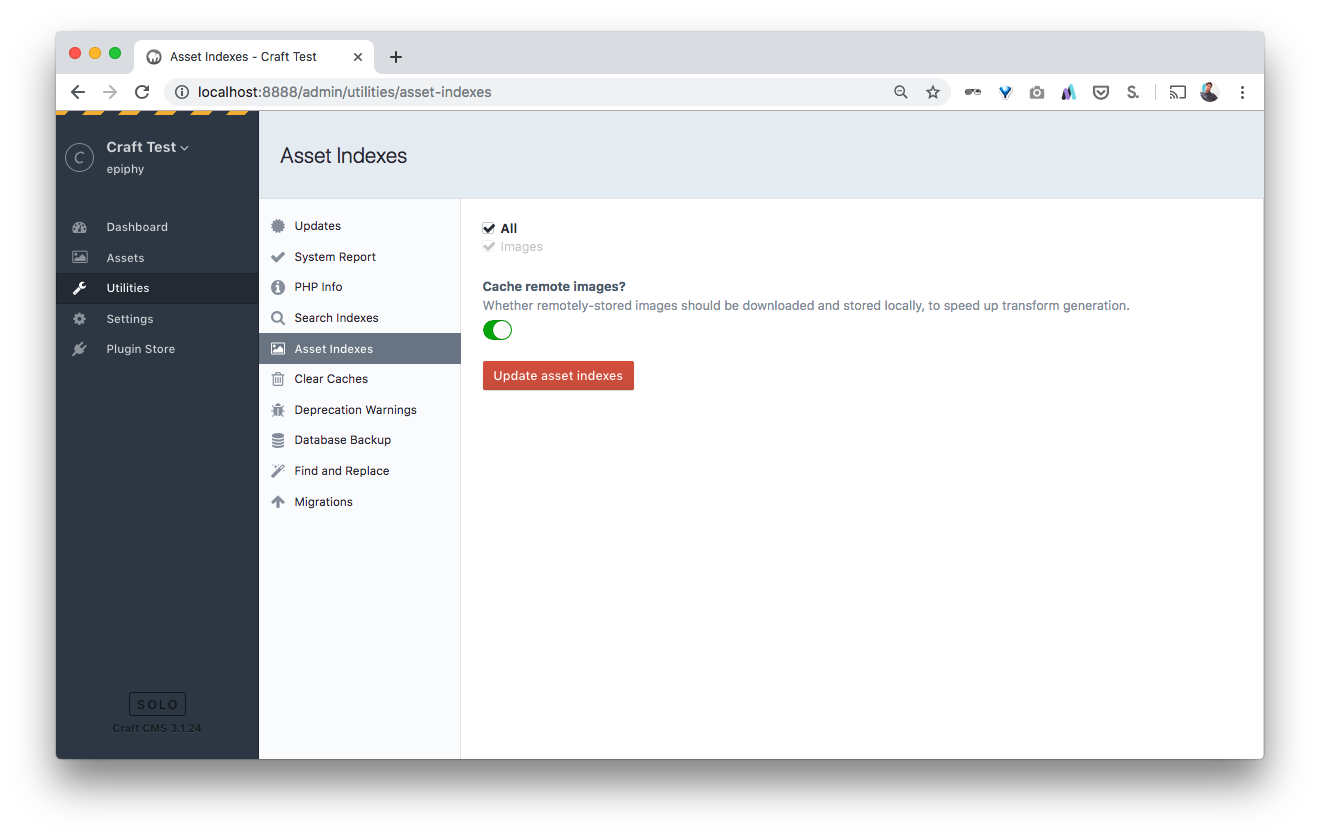
Step 10 – Assets
If you already had created the website locally, and uploaded via FTP the images folder that would be used for Assets, then you can proceed to Utilities, then Asset Indexes and click on UPDATE. Once you do that, the images will appear under Assets and can be inserted on pages in the Admin Panel.
Step 11 – Redactor
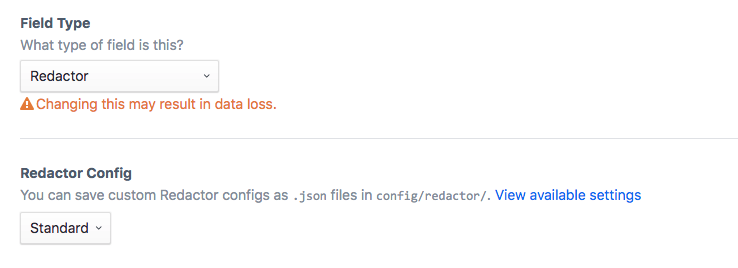
If you are using the Redactor Plugin to create rich text content, you will find the WYSIWYG toolbar a little bit empty. You can customize it by editing:
/config/redactor/Standard.json
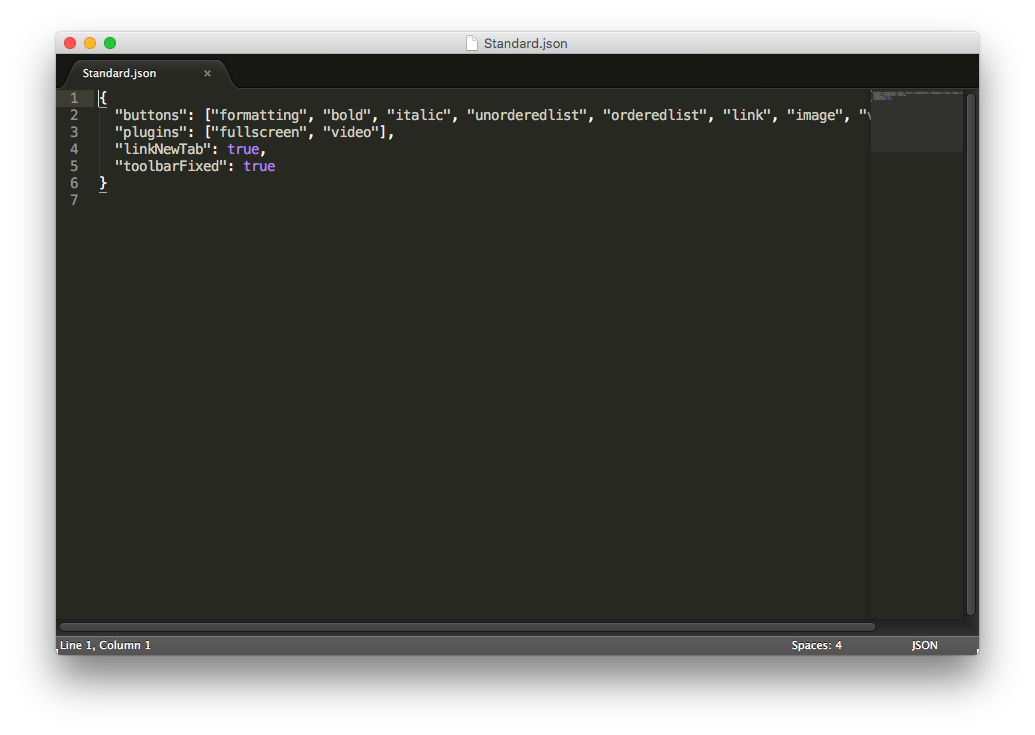
And then choosing Standard inside your Admin Panel, under Fields, then your Redactor type field, and Redactor Config:
FINAL STEP – Creating your Content
Finally! Time for some web designing. Feel free to go to Entries in your Admin Panel and start creating your pages.
Resources
- Craft 3 Documentation
- Craft Discord Community (previously Slack)
- FortRabbit guide to Tune Craft
- Recommended Craft Hosting Providers
- Twig Template Documentation
- List of Twig Tags
- List of Twig Tags unique to Craft
- A step by step guide to templating
- Craft Recipes
- Installing on MAMP
- Installing on MAMP on Mac OS X
- Securing Craft
- Craft Tutorials
- Craft Quest online courses
I hope this step by step guide will help you have a smooth installation of Craft in case you can’t use Composer and it’s your first time. One of the biggest differences between Craft and WordPress is the size of the community and the amount of information available, specially tailored for non programmers or non experts.
There’s a huge number of business owners and entrepreneurs building their own, small websites on WordPress, so you can find a lot of information and resources focused on that target audience. On the other hand, my impression of Craft documentation is that it’s geared towards developers, up to date with all new server side technology, working with GIT and Composer. If you are a designer, that might not be the case.
Nevertheless, Craft’s structure, it’s freedom to create the site however you want, and it’s Twig templating language, make it an ideal tool for a designer that will create custom websites. Compared to WordPress’s ton of pre-installed stuff and complexity of it’s template’s PHP files, Craft should be the preferred tool for a new generation of Web Designers. Let’s just hope that we can smoothly install and setup the app and can go back to crafting our websites.