
After many years of working with WordPress, I decided to try something new with Craft CMS, a commercial product offered by Pixel & Tonic.
My workflow with WordPress consists of designing everything for the client, then building the HTML/CSS with a framework (either Bootstrap or Materialize), and then using underscores as the foundation for the WordPress template. Underscores is a bare bones, “ultra minimal CSS” theme that you can use as a base to build your own theme. It’s not a parent theme and you don’t have to fight with styles, or anything. But still, you have all the cumbersome options that come pre-install with WordPress to configure or theme.
![]()
Craft, on the other hand, it’s the exact opposite. When you install it, you get nothing. No content types, neither pages nor posts, no fields, no categories or any sort of taxonomies (keywords, etc)… you have to build everything in the administration panel, a task that might seem excessive at first, but once you have everything set up, it’s extremely satisfying since the configuration and the content types, including the field types it’s exactly how you need or like them. Imagine it as a mix of WordPress Core + CPT UI + ACF Pro, but with nothing configured initially.
Configuring Craft
So, the workflow here it’s something like this:
- Install Craft: it’s really easy locally, but sometimes you can get into trouble installing it on a server, some more info here.

- Create your Assets Volumes: this is the equivalent of “Media” in WordPress. The thing is, it’s not created after installation, you have the option to create separate asset volumes for different type of documents you plan to upload, or have different location where they will be store, either locally, or in the cloud, in a service like Amazon, for example.
- Image Transforms: after you have the location where the images will be store, you can configure auto image resizes (like Big, Medium and Thumbnail on WordPress). So you can specify as many resizes you want, their width and height and if they can be cropped to fit the size.

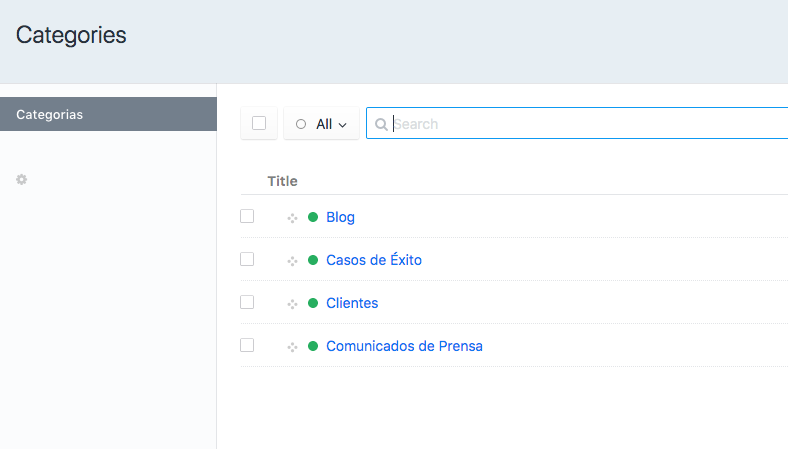
- Categories: you can create your categories right away or after creating the entry type (blog, news, whatever). It’s similar to the category option in WordPress so there’s not much to say. One difference is that if you want to offer your users an archive page of your posts, you need to create the Twig template and specify it on the admin.
- Fields: this is the bigger paradigm change between both CMS, even if you don’t create custom fields in WordPress with ACF, every content type starts with a default set of title, content (the big WYSIWYG text box), categories, keywords and excerpt. On Craft when you create a new content type, it’s completely empty, without fields, so you have to specify what you want and in what layout you want them to appear. Another difference with ACF is that you could reuse some fields, instead of creating a title field for your blog posts, a title field for your pages, another one for a gallery or something.. you can create one text field as “title”, and then use it every time you need a title field.
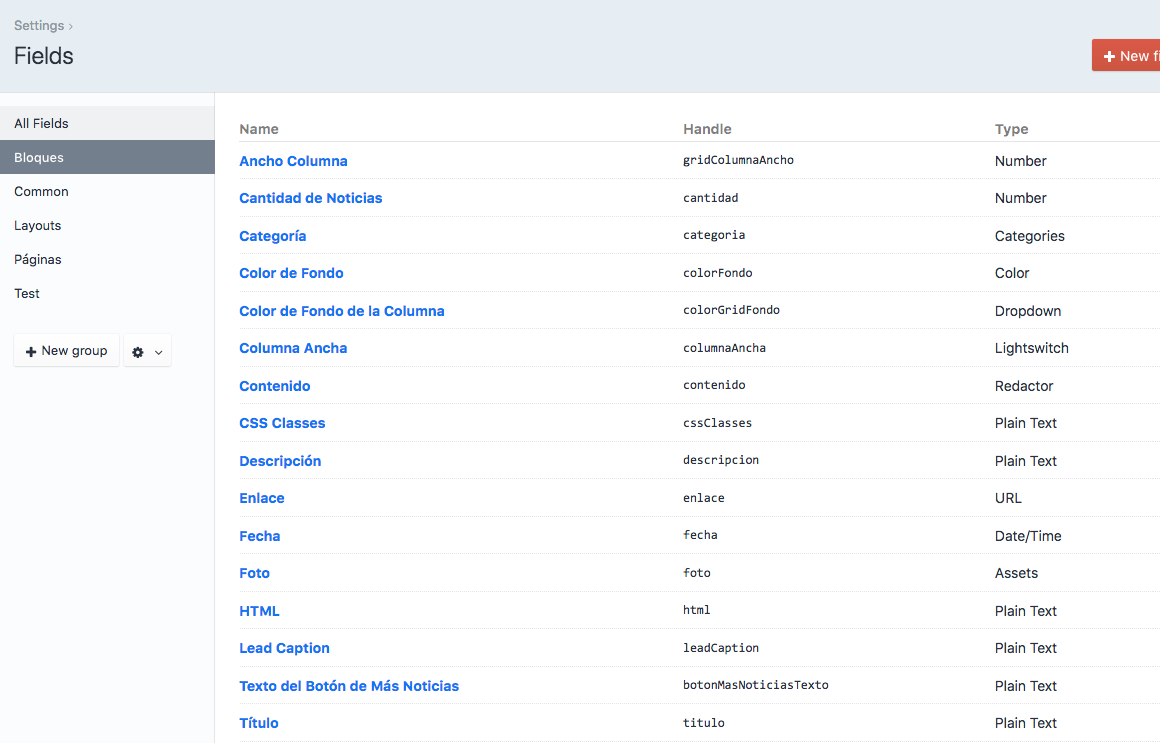
- Redactor: if you need a WYSIWYG content field, you need to install the free Redactor Plugin, provided by Pixel & Tonic, the creators of Craft, in the Plugin Store. This was confusing for me at first, and still not sure why it’s not part of the core functionality, but anyways, you have to do it.Another detail that frustrated me is that after you install Redactor and create a field with it, when you try to add content, the amount of options on the editor is very limited. That made no sense, so after a little bit of research, I found out that you had to manually edit a text configuration file (/config/redactor/Standard.json) where you specify what options (bold, italic, bullets, etc) to show on the editor.
 And then choosing Standard inside your Admin Panel, under Fields, then your Redactor type field, and Redactor Config:
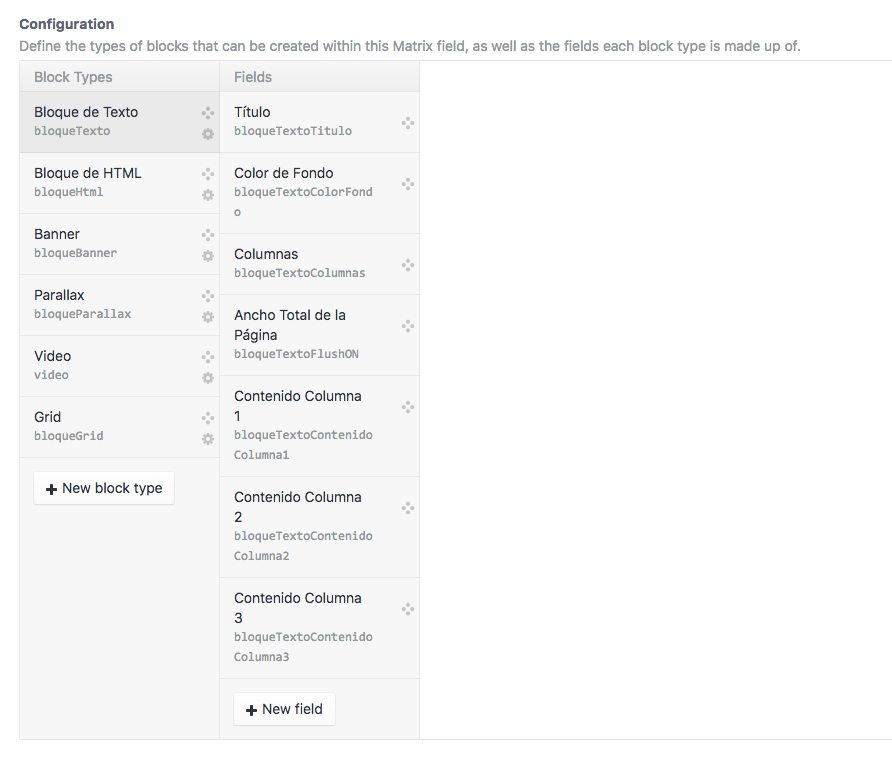
- Matrix Field: this is exactly the same as a “Repeater Field” on ACF: you create a parent “block field”, then delineate the type of content you can insert into the page, for example a text block, a photo gallery, a video, etc.. depending on your design, and then add the fields each type of block uses. This is a good example where you could reuse each type of field, like the content (WYSIWYG field), the title field, a photo field, etc.. instead of creating one particular title field for each type of block. One disadvantage is that you still don’t have conditional fields (IF FIELD A = X, THEN SHOW FIELD Y AND HIDE FIELD Z). This very small detail makes the whole content administration panel a little bit confusing for the authors, since they get shown all the fields, even tough some might not be necessary depending on their selection and your content design.
- Sections: here you can create the sections of the site, like in Custom Content Type (CPT UI plugin in WordPress). On Craft you have 3 types of Sections: Pages, that work as individual pages, each with it’s own template; Structure, that works like a tree like structure of pages and channel, that it’s a chronological collection of posts, like a blog or news section. In this step, you just create the sections and choose the URI (/about for the About Page, for example). Besides this, you then proceed to create the Entry types…

- Entry Types: entry type is the configuration that allows you to manage what fields will be included in each particular content type (section) and in what order are they presented, even organized into separate tabs. Remember that at this point, you already created all your field types and matrix fields if you choose to, so it’s only a matter of drag and drop. It looks like this:

- Plugins: Craft comes with a plugin store, where you can get special functionality, just like in WordPress. The benefit is that you can buy the commercial ones from the same store, instead of having to create an account on each individual developer’s page and monitor different annual memberships.

Creating Content
After you finish all this work, then you can start working on two things:
- Creating your Twig Templates: if you initially coded the HTML/CSS of your designs, you can use them as a starting point. The development of Twig templates is beyond the scope of this article, but there are a lot of great resources that I will link bellow.
- Creating or adding your content
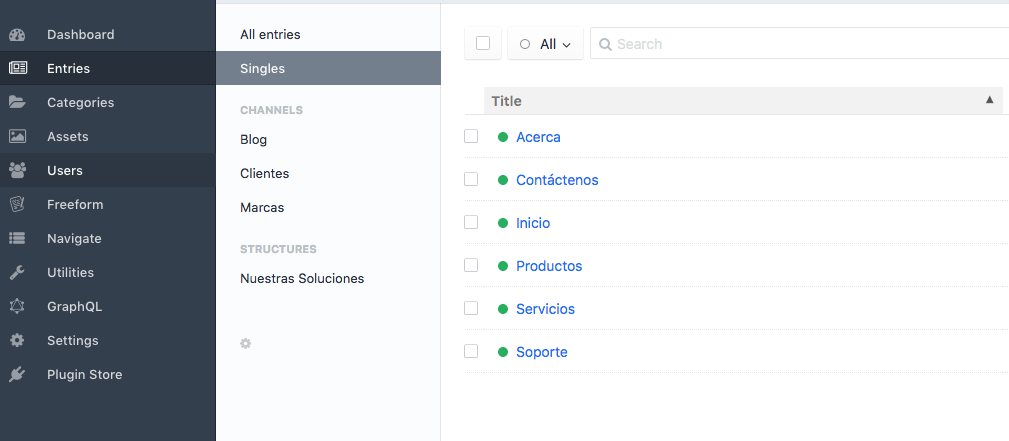
The content creation is pretty straight forward, you browse to “Entries” inside the admin panel, then click in the desired entry type you already created, be it blog, news, singles, etc. and then proceed to create each individual entry (the about page, each blog post, etc):
Inside the content edit screen, you get to input your content in each field you previously created and selected for the particular entry type.
Twig References
- Twig Quick Start and Twig Templating Key Concepts
- The Twig processing order in Craft templates
- Twig Template Documentation
- List of Twig Tags
- List of Twig Tags unique to Craft
- A step by step guide to templating
I hope this introduction helps you decide either or not you want to try out Craft CMS in your next project. It’s brings a particular type of workflow that might be too much or exactly what you always wanted, depending on the type of client work you do. It could be overkill for a marketing landing page, but might be a good alternative to Sharepoint for a bank’s website, for example.